🟢 Quick Start Guide
Discord Registration
Midjourney currently operates on the Discord channel. We can use Discord's bot to issue commands and ultimately receive images.
You can directly click to enter the Midjourney Discord Channel. Alternatively, if you directly search and enter Midjourney's official website, you can also join the channel by clicking the green button "Join the Beta" in the bottom right corner.
💡 If you encounter any issues during the Discord registration process, you can check out the latest official registration tutorial:
Subscribe to Midjourney Plans
To start generating images with Midjourney, you need to subscribe to a plan.
- Visit Midjourney.com/account.
- Log in using your verified Discord account.
- Choose the subscription plan that suits your needs.
It is recommended to choose the "Standard Plan". The 200 images available for 10 dollars are not enough for daily use.
For more information on pricing and available features for each tier, check the official subscription plans.
💡 If you want to solve the MJ account problem at a lower cost, our AI Watts official account solution platform "YouHao" has prepared everything for you:
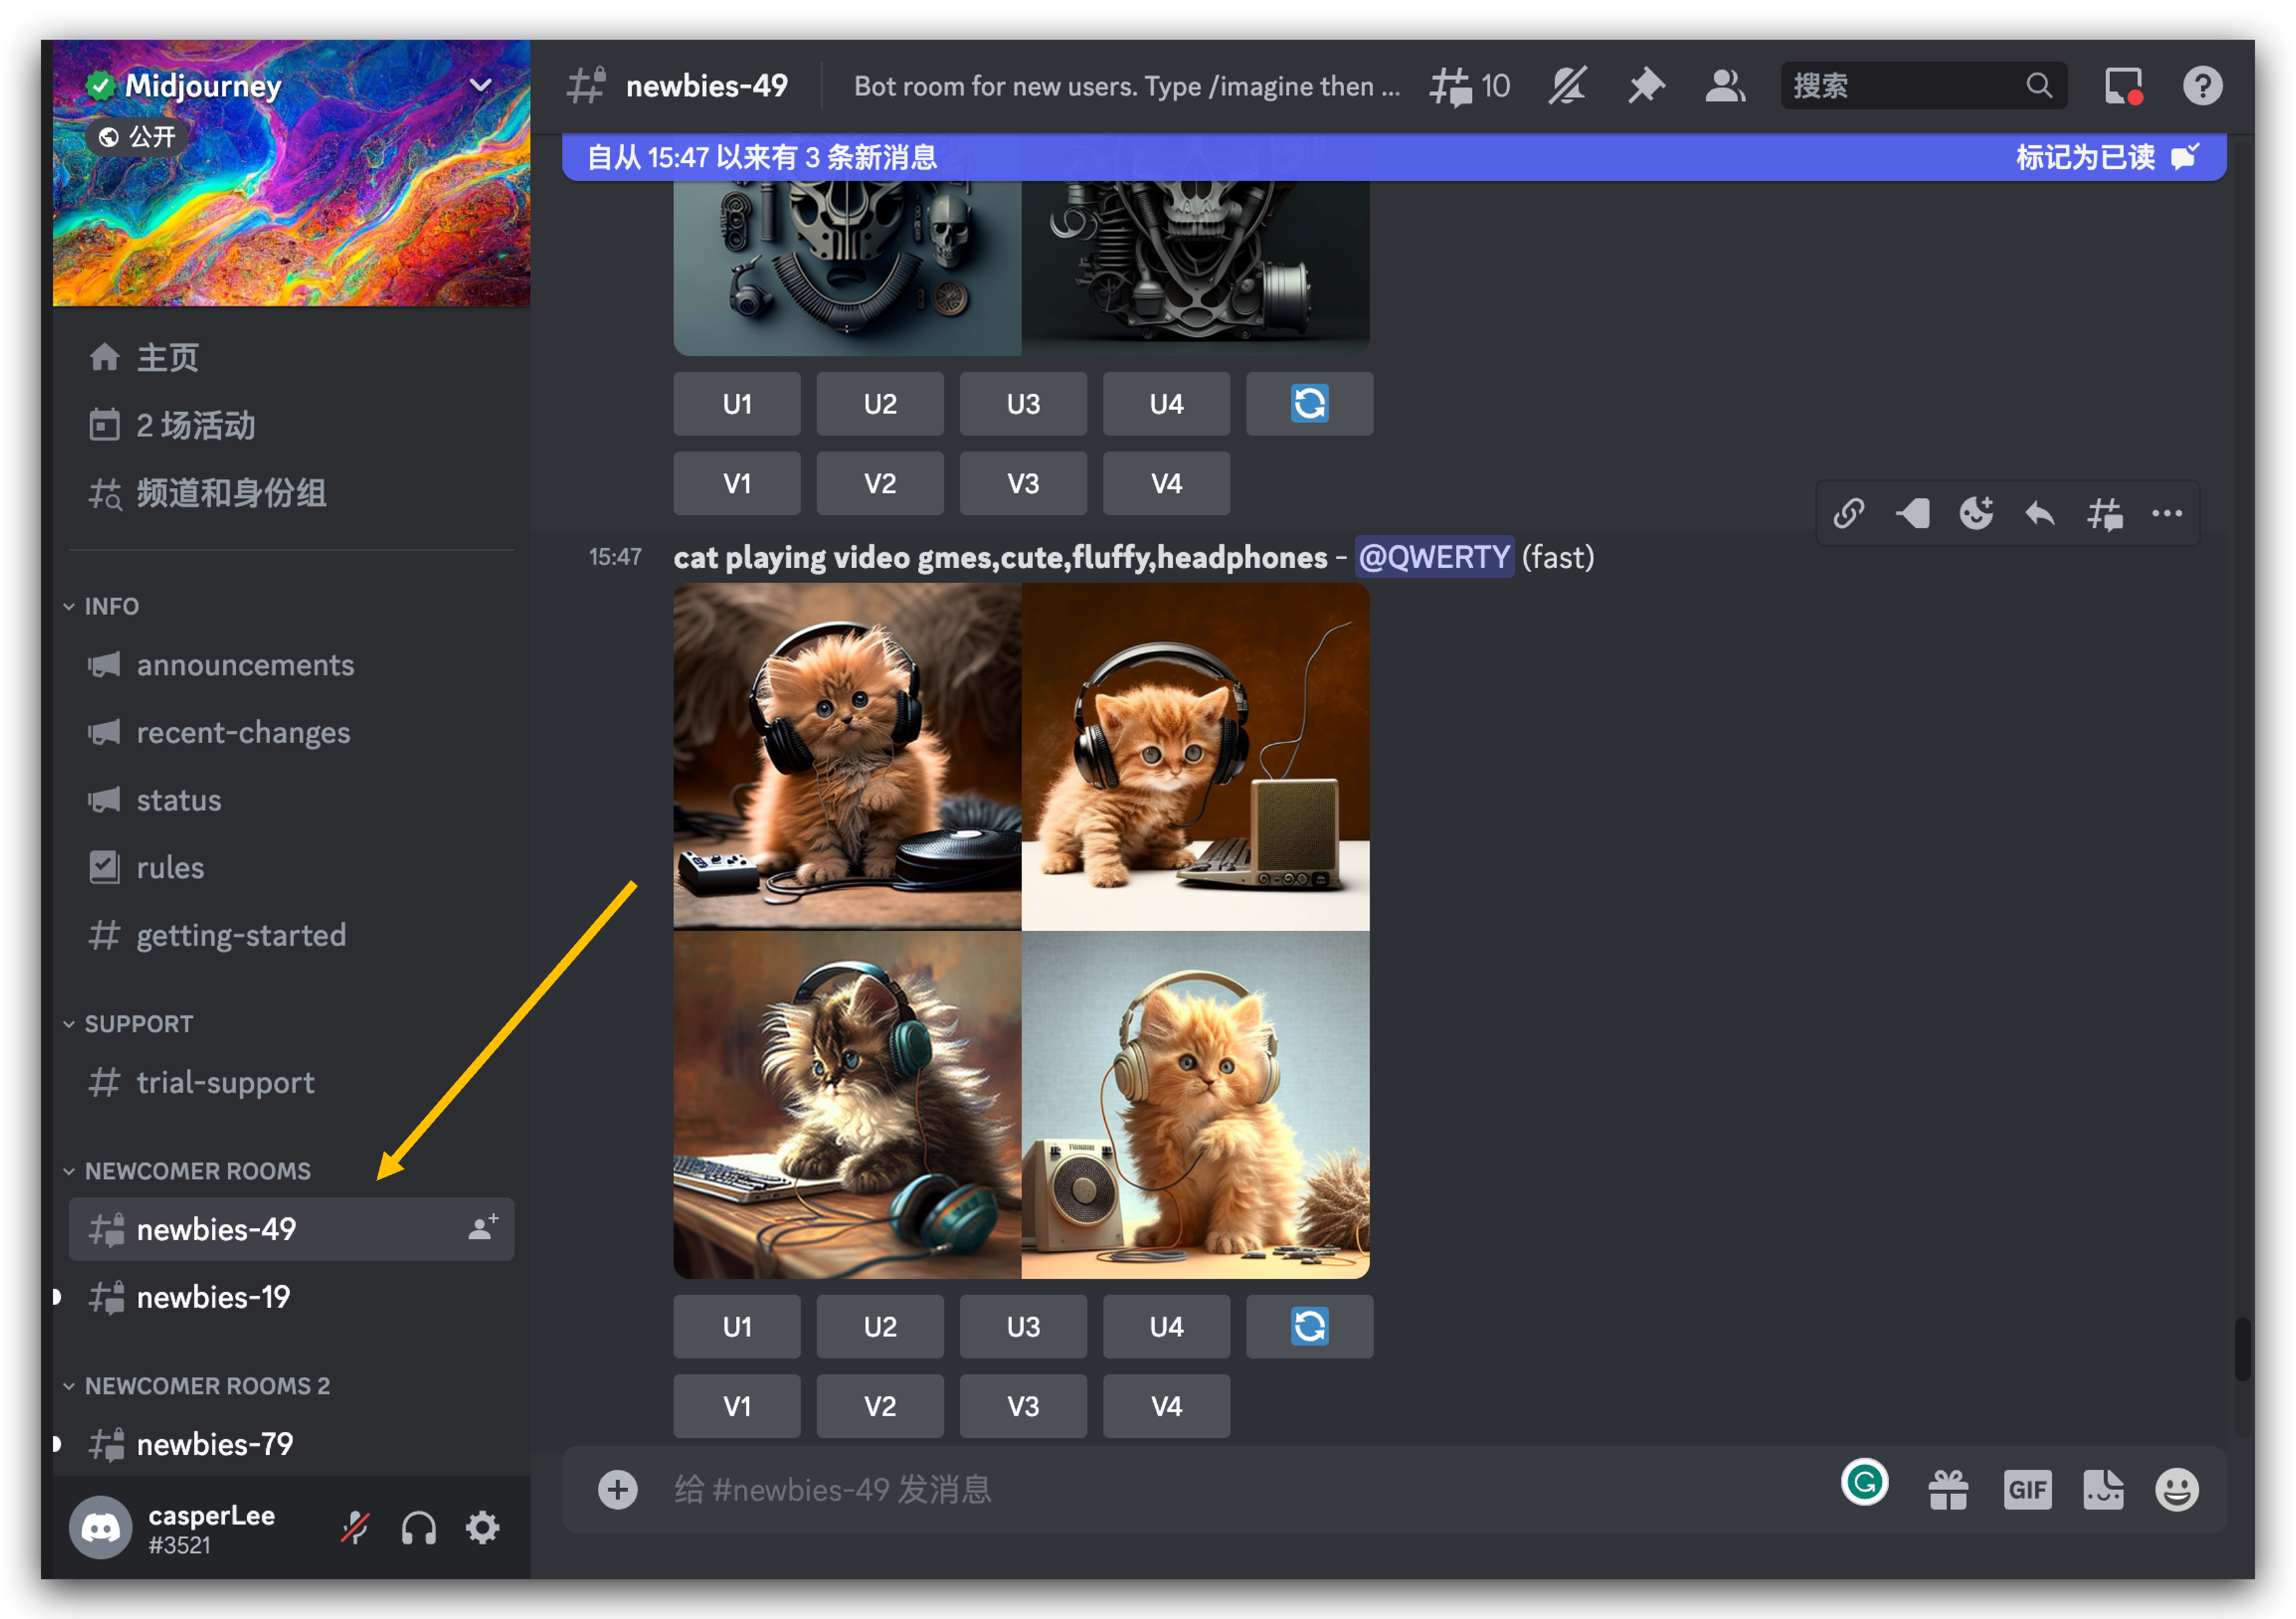
Join the Newbies Channel
Midjourney has created Newbies channels for new users. We just need to select any newbies-# channel on the left sidebar:
Use the /imagine Command
💡 Interact with the Midjourney Bot on Discord using commands. Commands can be used to create images, change default settings, monitor user information, and perform other useful tasks.
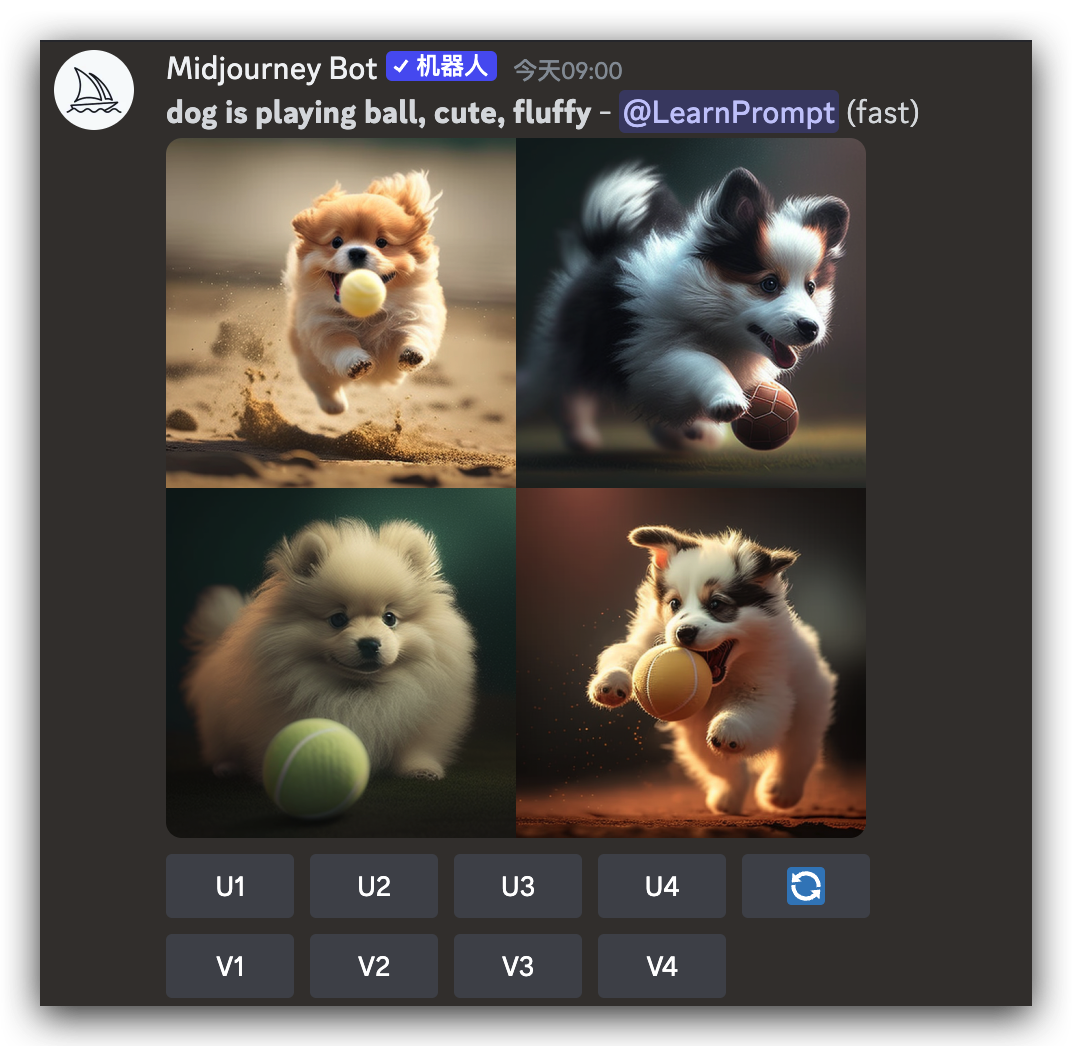
- Enter "/imagine" or type "/" and select /imagine from the pop-up window.
- Enter the text description of the image you want to create in the "prompt" field.
- Press enter to send your message. The Midjourney Bot will generate a pop-up window asking you to accept the terms of service. You must agree to the terms of service to generate images.

For example, we enter: dog is playing ball, cute, fluffy

After pressing enter to send, you will see that the Bot has added two fields to your original input: one is @"username" for distinction, and the other is a progress indicator shown as a percentage.
Upscale or Upscale Redo
After the initial image grid (four images) is generated, two rows of buttons appear:
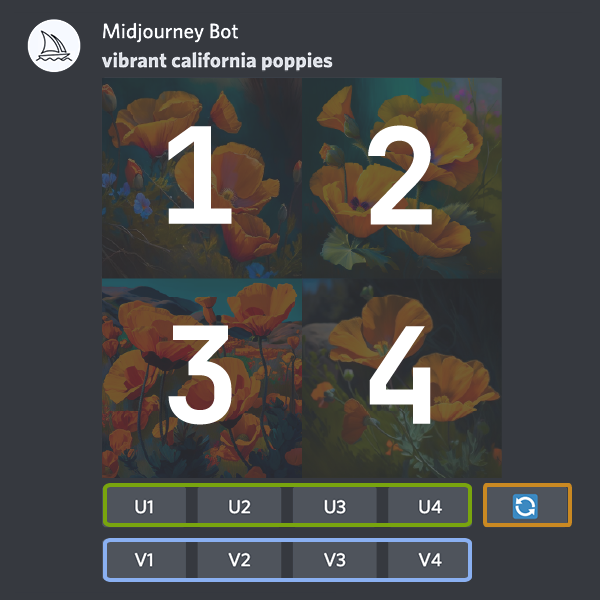
💡 U and V represent operations, and 1, 2, 3, 4 represent positions.
Going back to the dog image we just generated, let's see the actual effects of these two buttons.
The U button upscales the image: generates a larger version of the selected image with more details.
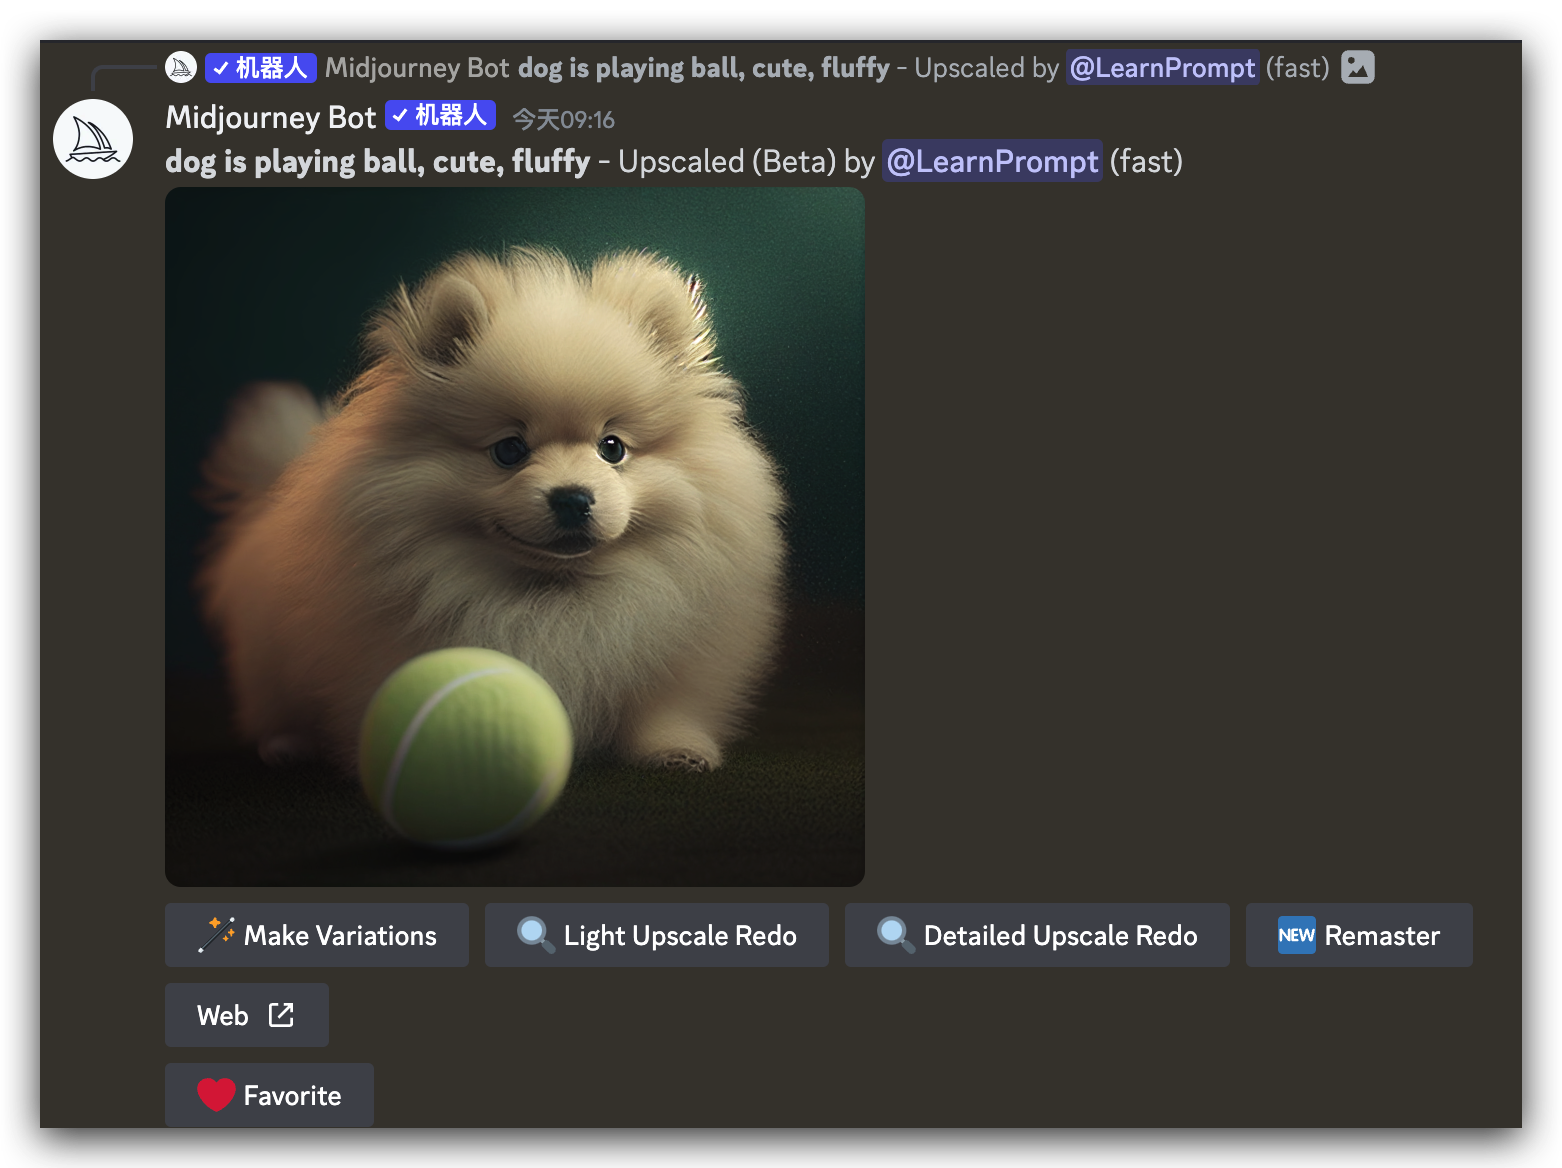
Upscale Redo
After upscaling the image, you will see a row of buttons below the image, allowing you to redo the upscale using different upscaler models.
- Make Variations
- Light Upscale
- Beta Upscale
Regular (Default) Upscale
The default upscaler increases the image size while smoothing or refining details.
Light Upscale
The light upscaler creates a 1024px x 1024px image and adds a moderate amount of detail and texture.
Beta Upscale
The Beta Upscaler creates a 2048px x 2048px image without adding much extra detail. The Beta Upscaler is suitable for faces and smooth surfaces.
💡 Using upscaler parameters directly in the prompt achieves the same effect. Add --uplight, --upbeta, or --upanime to the end of the prompt.
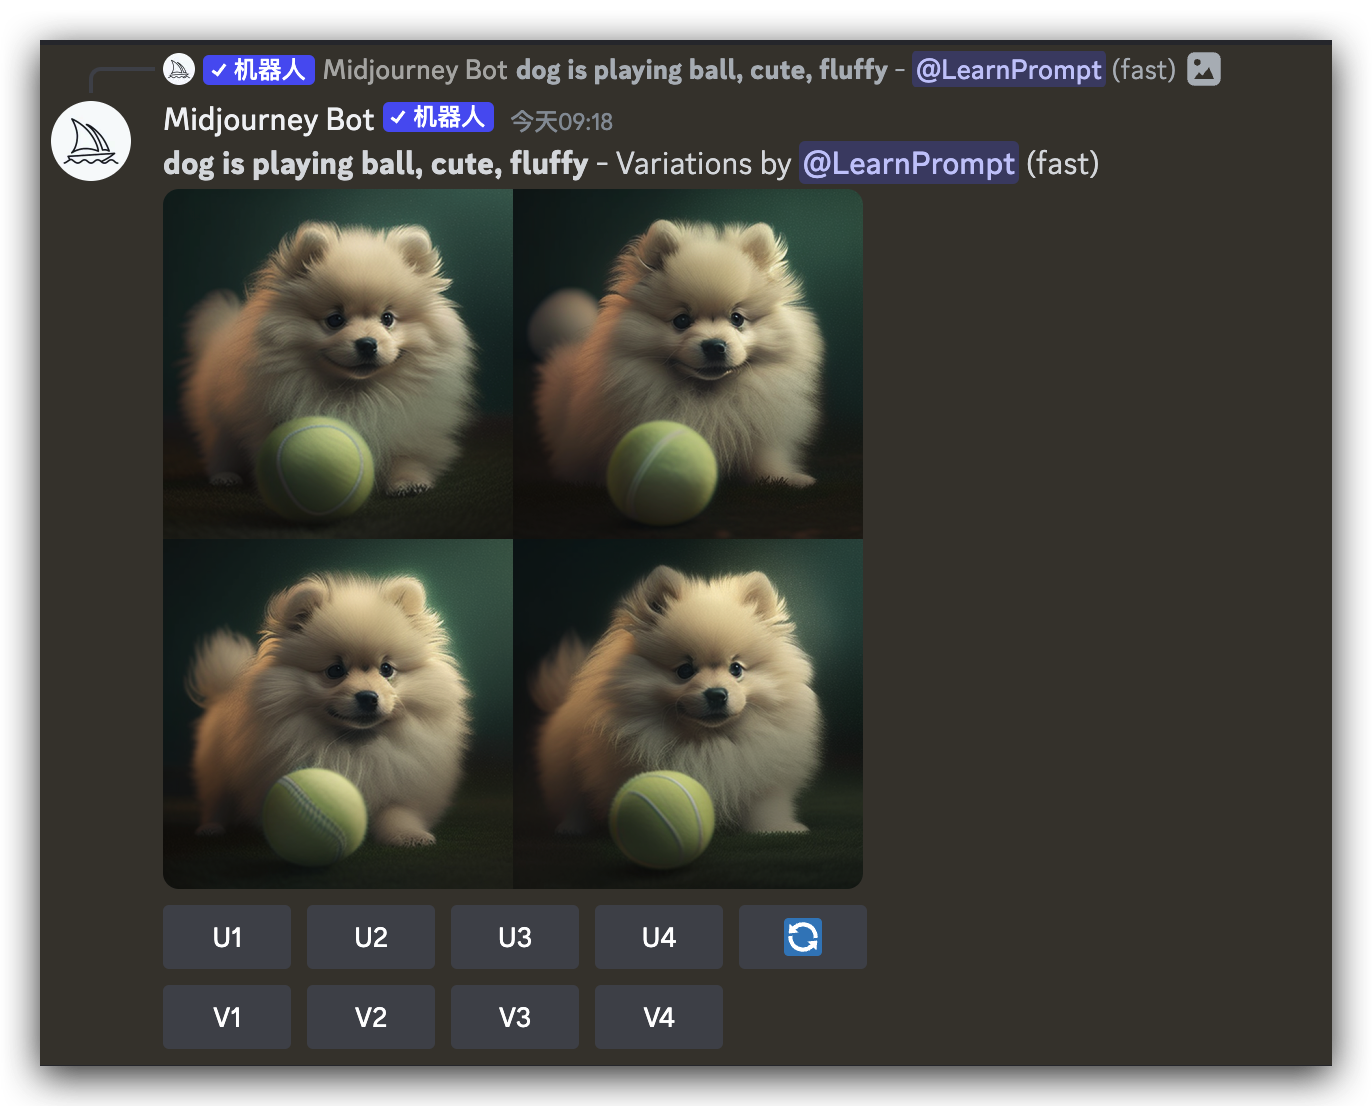
Create Variations
The V button creates slight variations of the selected image.
It creates a new image grid with images that are similar in overall style and composition to the selected image.
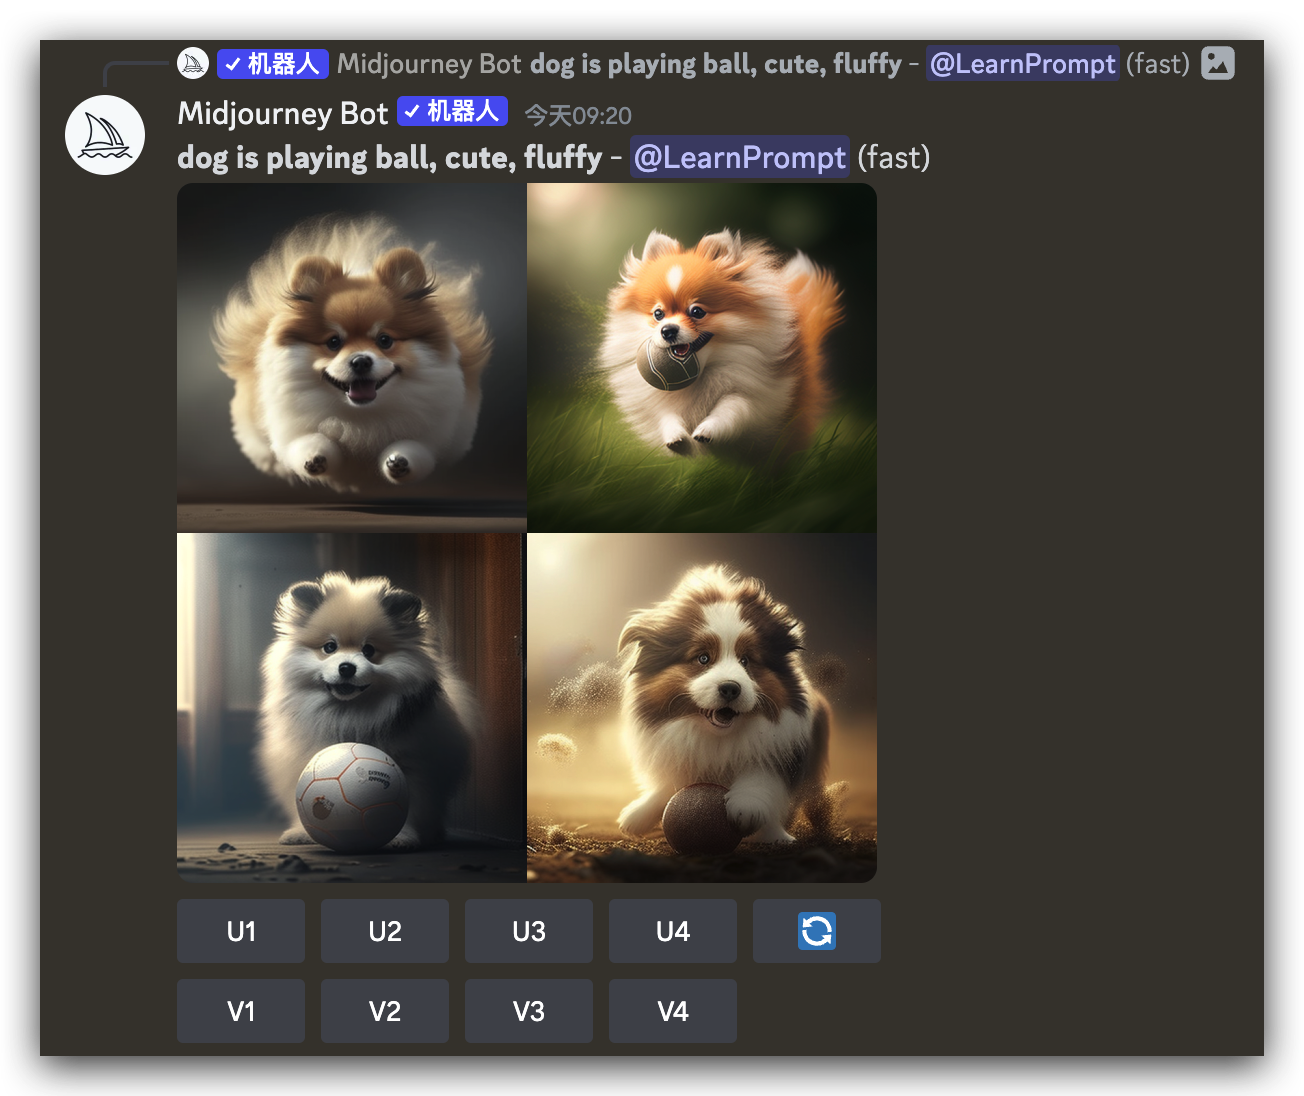
🔄 Re-roll
Clicking 🔄 (re-roll) means re-running the original prompt to generate a new image grid.
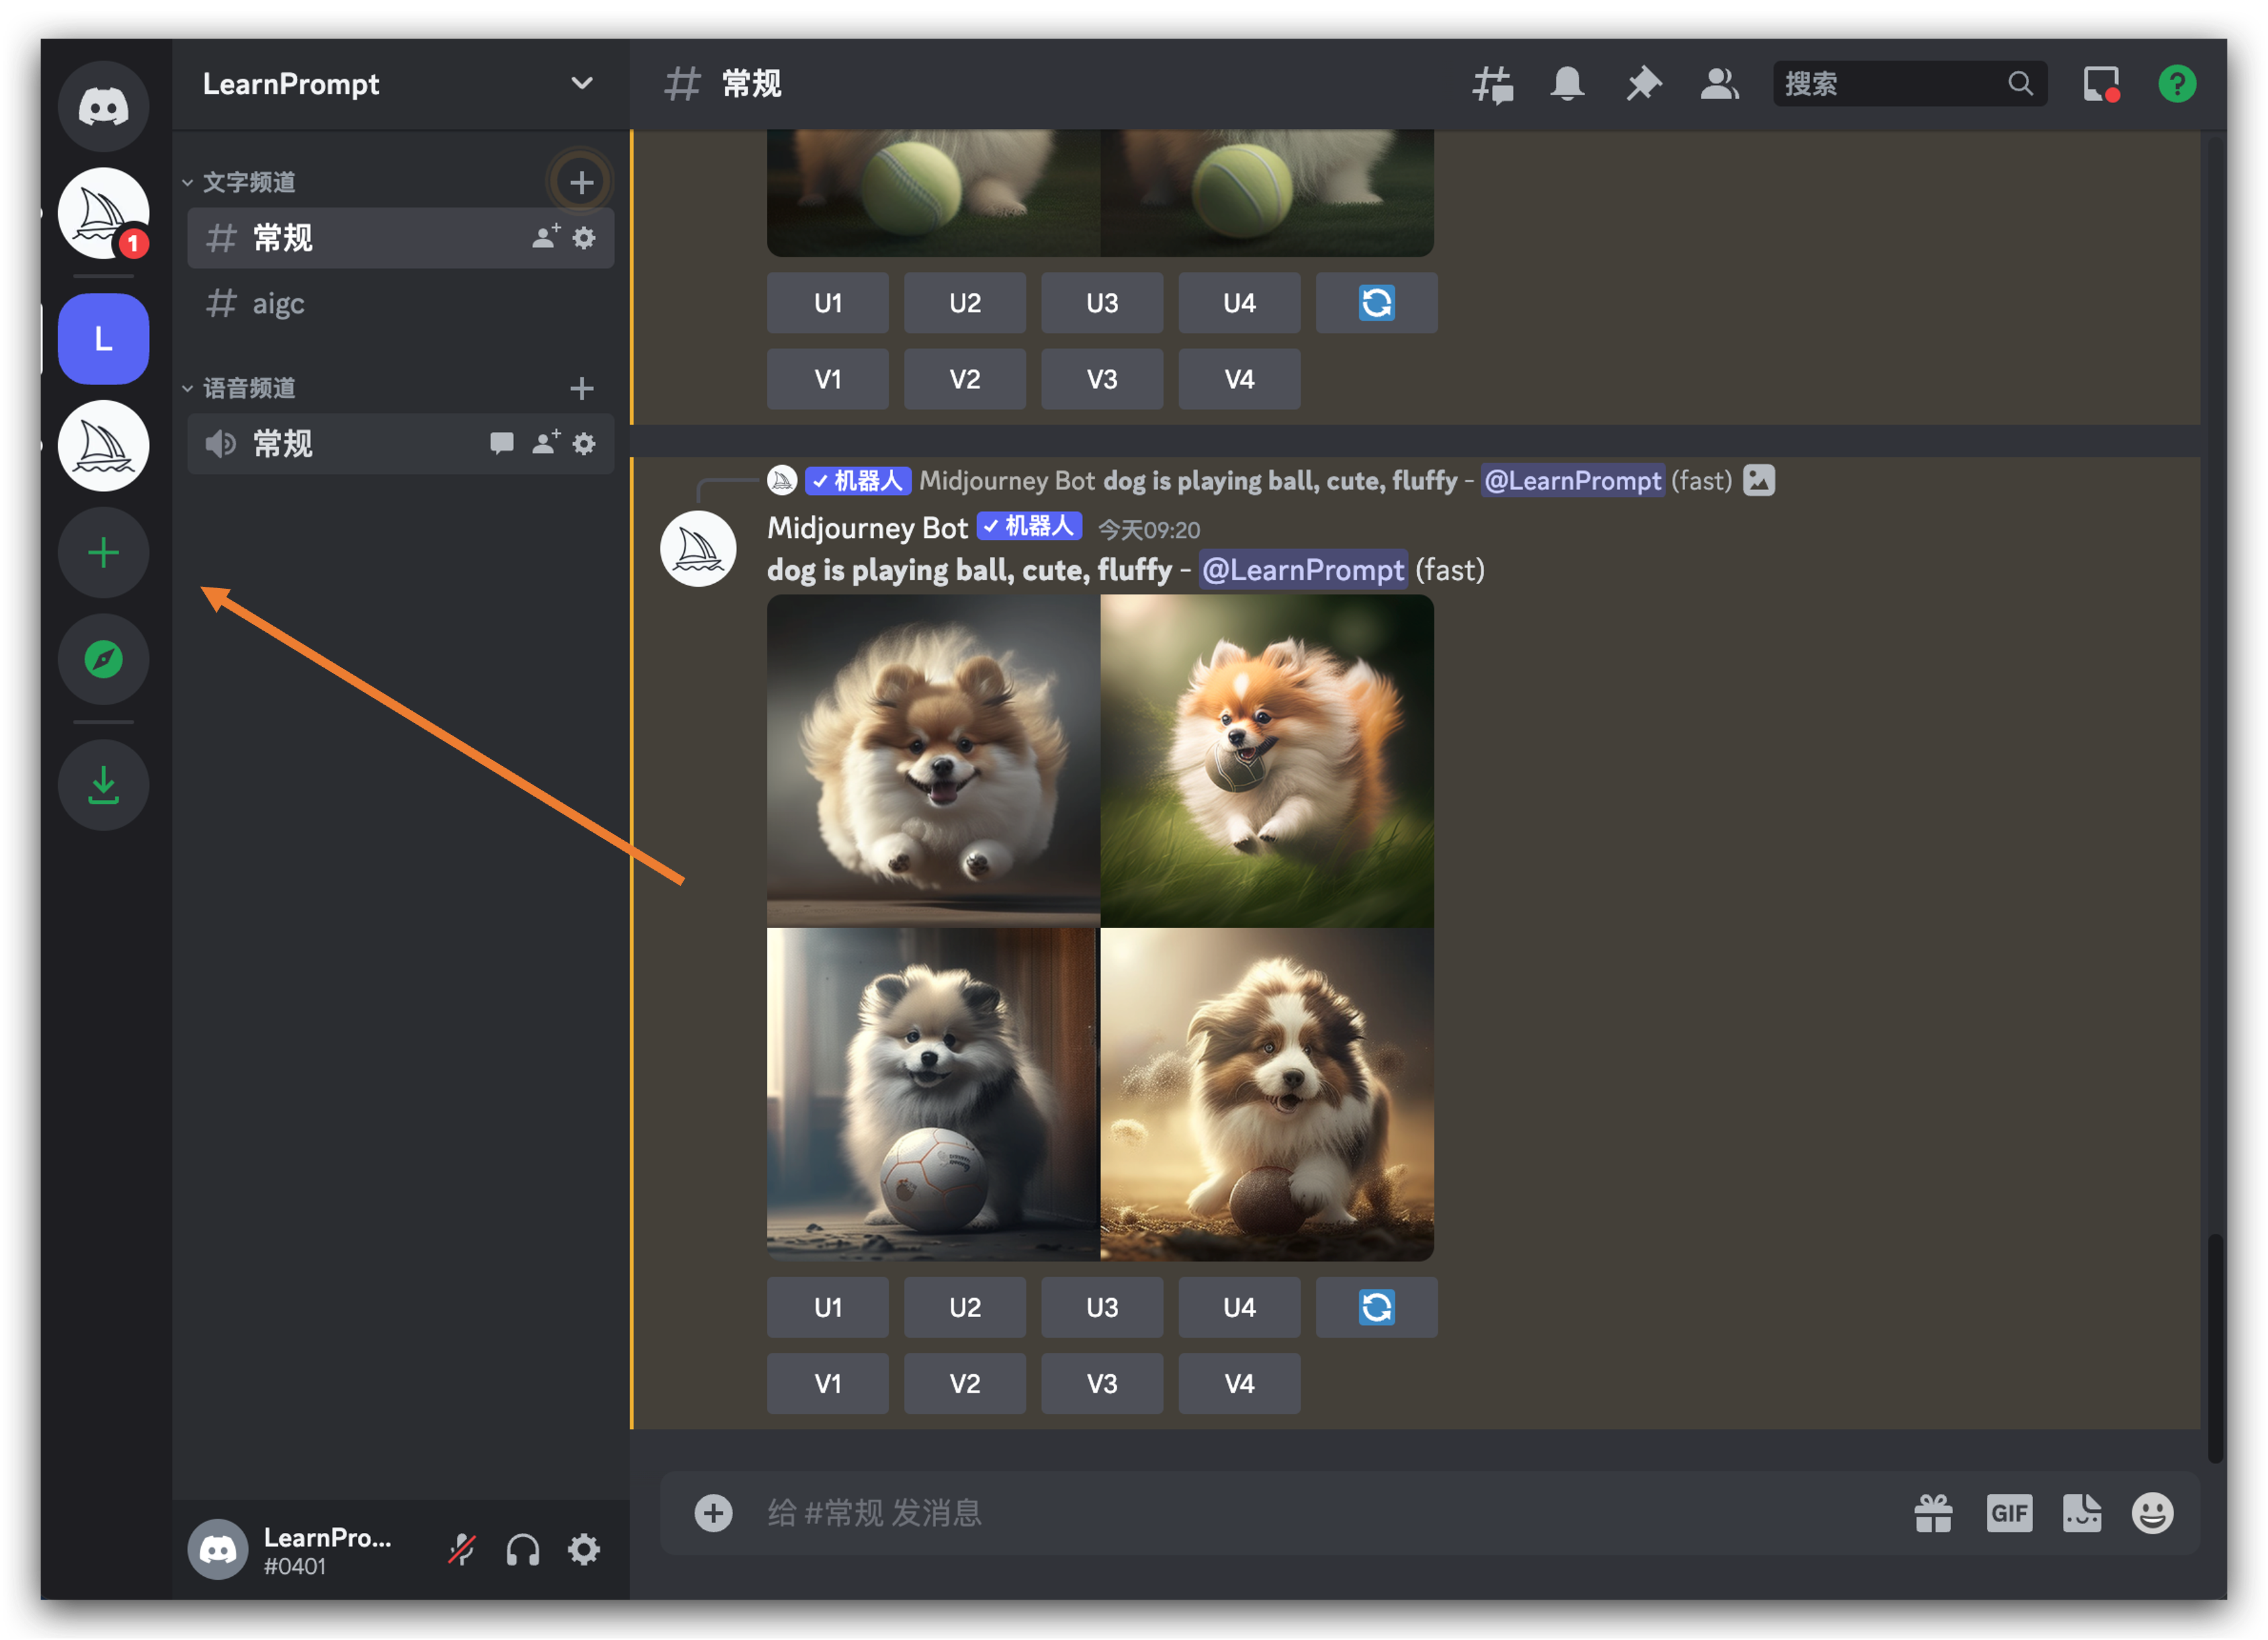
Save Images
Click on the image to open its full-size view, then right-click and select Save Image As. On mobile, you can long-press the image and then tap the download icon in the upper right corner.
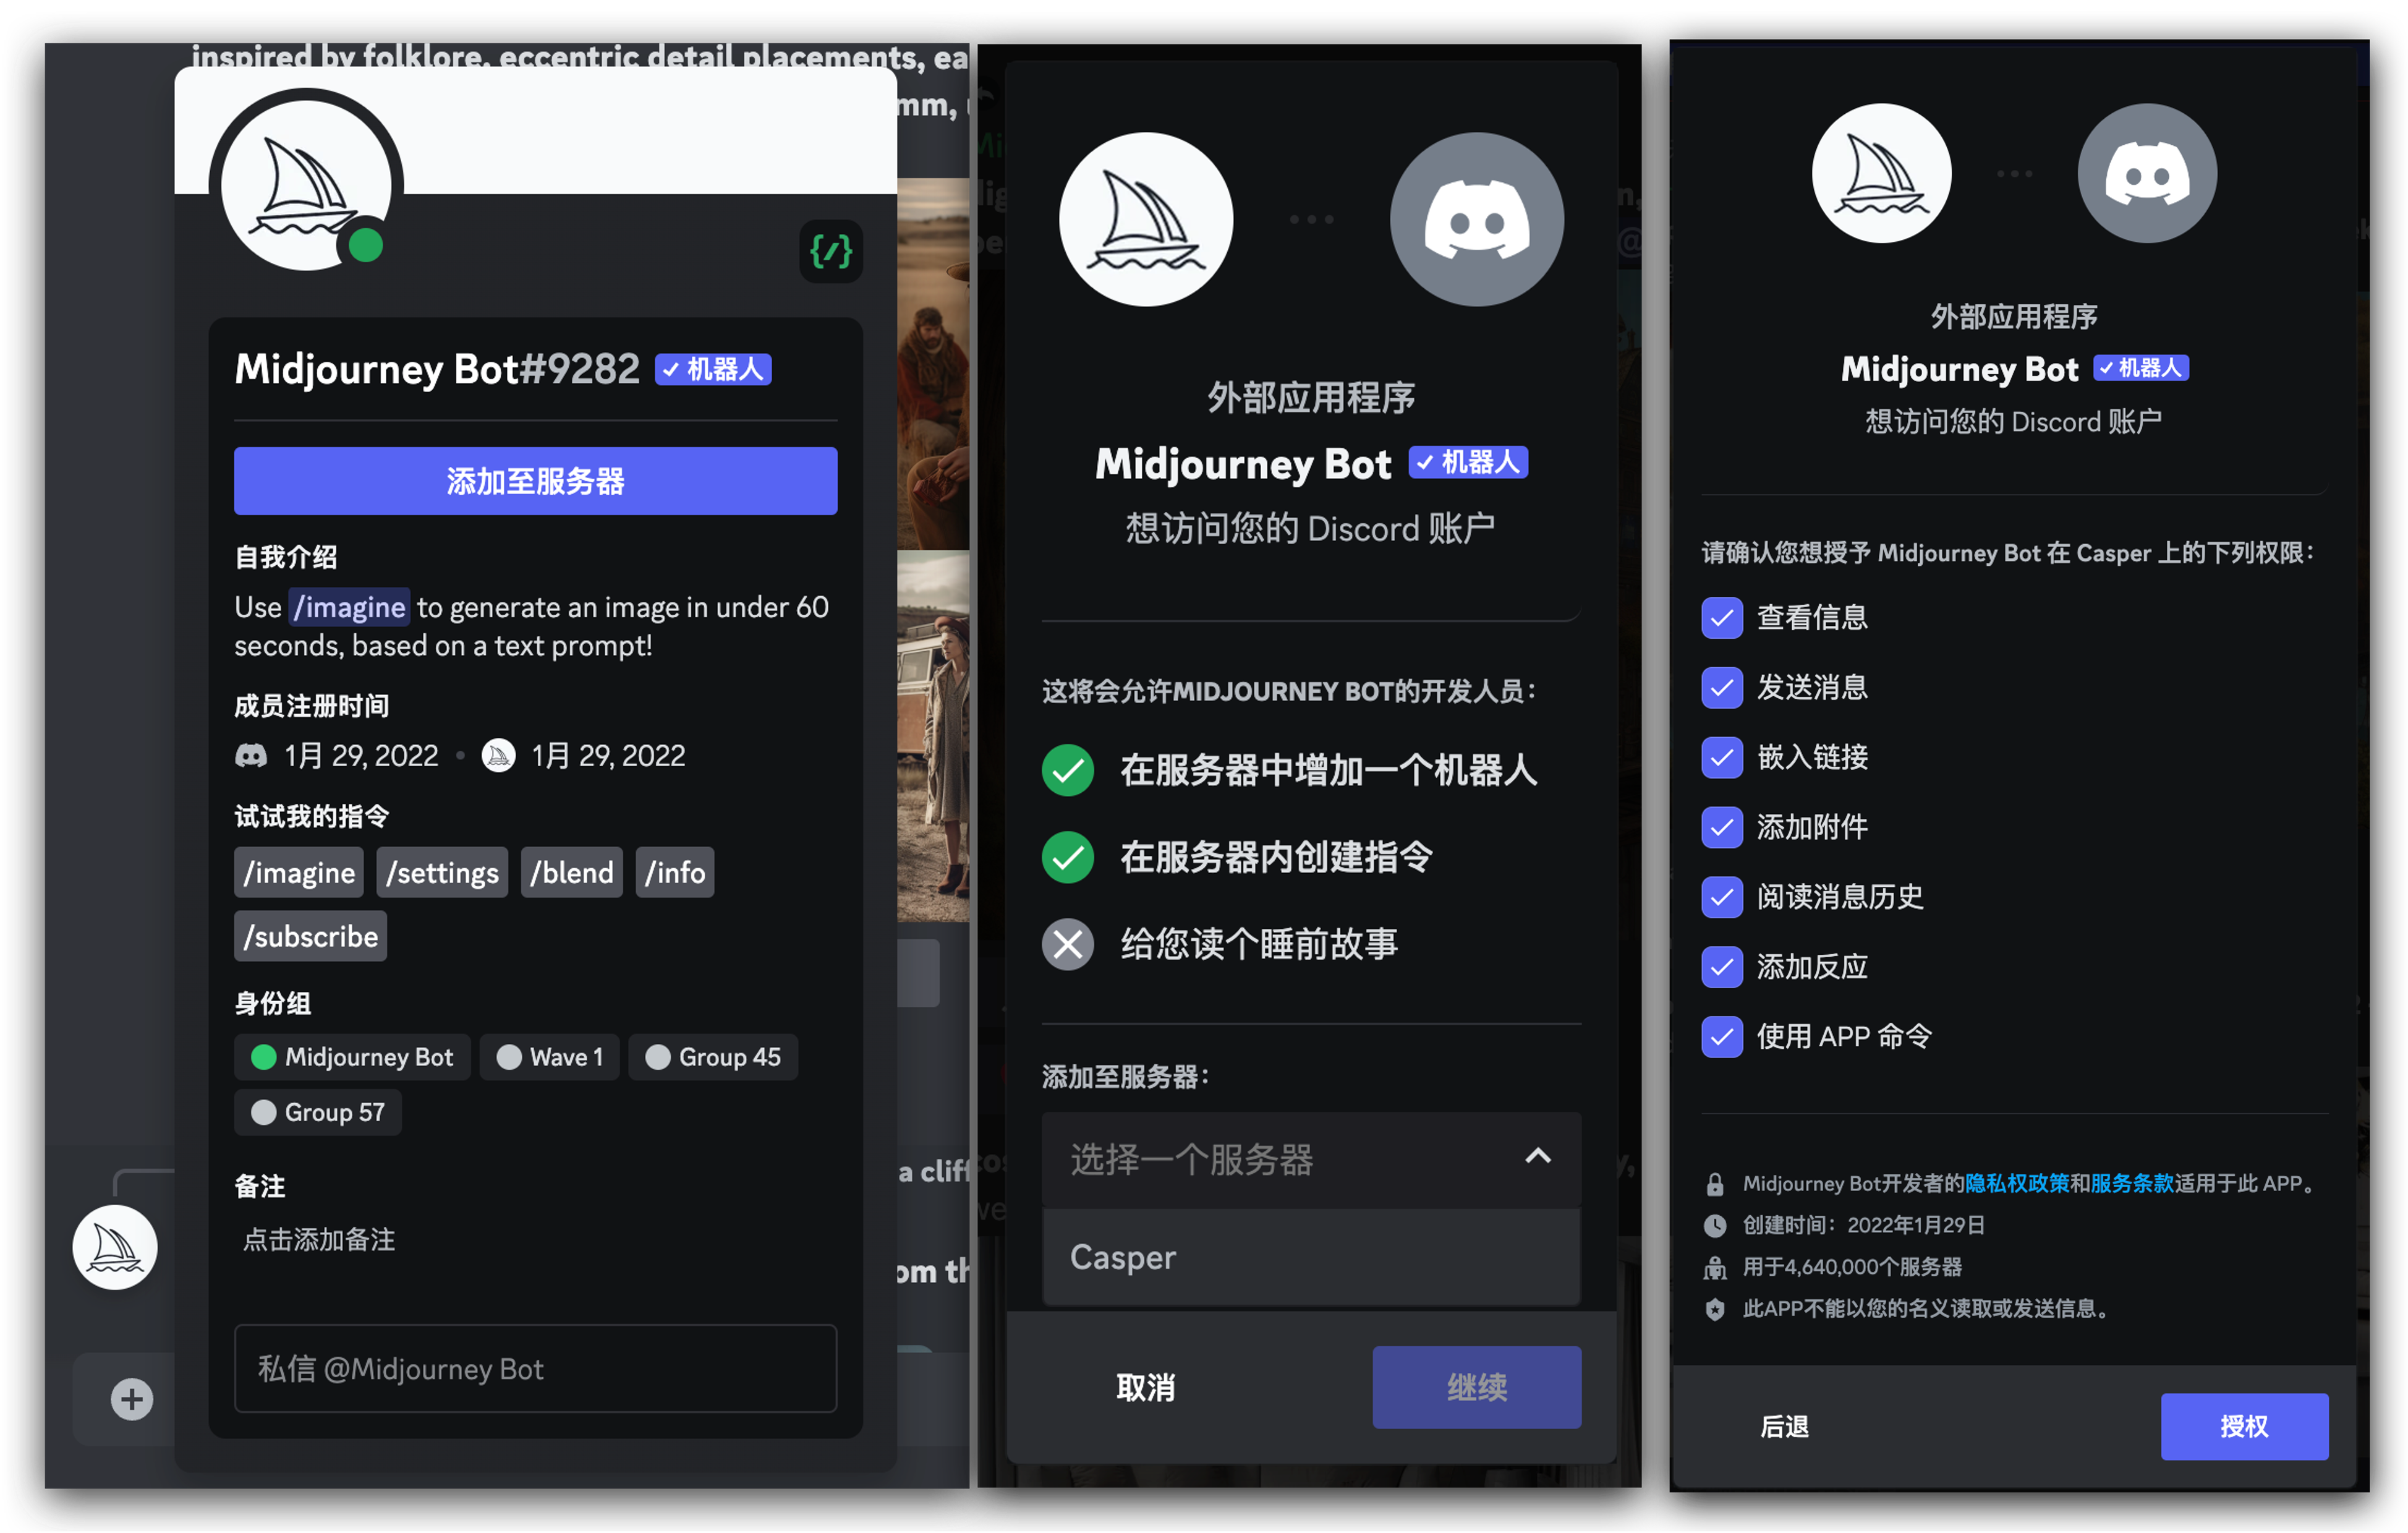
Invite the Bot to a Private Server
One of the disadvantages of using free rooms is the high volume of information, making it easy for your generated content to get lost among other messages. At this time, we can pull the Midjourney Bot into our own server. However, images generated in private servers are still subject to Midjourney community guidelines, and the generated images are still visible to other users on midjourney.com. Once the Midjourney Bot is added to your server, you can start interacting with it using the /imagine command.
Create a Server
Click the + button on the left sidebar to create a server, then click Create My Own, choose For me and my friends, and create a server name. The avatar can be the official default. After filling it out, you can enter your private server.
Chat with the Bot
- Go back to the free room's chat list and click on the Midjourney Bot's avatar, then select Add to Server from the pop-up window.
- Select the server (your newly created private server) to which you want to add the Midjourney Bot from the list.
- Confirm and pass the human verification, then you will see "A wild Midjourney Bot has appeared" in your server.