🟡 SadTalker: Making Photos Speak
Project URL (including detailed documentation): https://github.com/OpenTalker/SadTalker
First, the effect: Input a photo and an audio clip to make the person in the photo speak.
Installation Method One: Direct Windows Installation
Zero, Preliminary Work
Requires git, VPN for internet access, and python3.8+ environment. If you are unfamiliar with these, this method may not be suitable for you.
One, Download ffmpeg
1. Visit https://ffmpeg.org/download.html, click on Windows, select gyan.dev
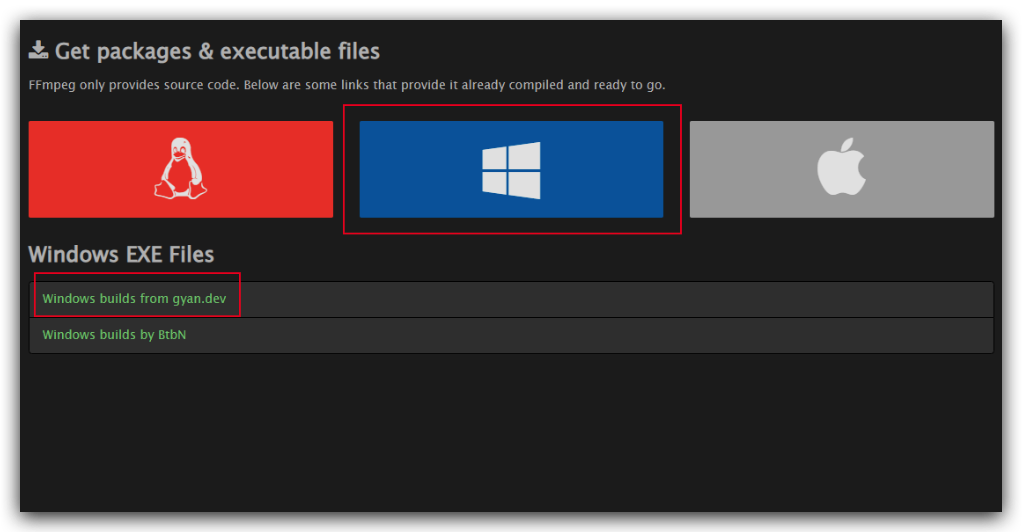
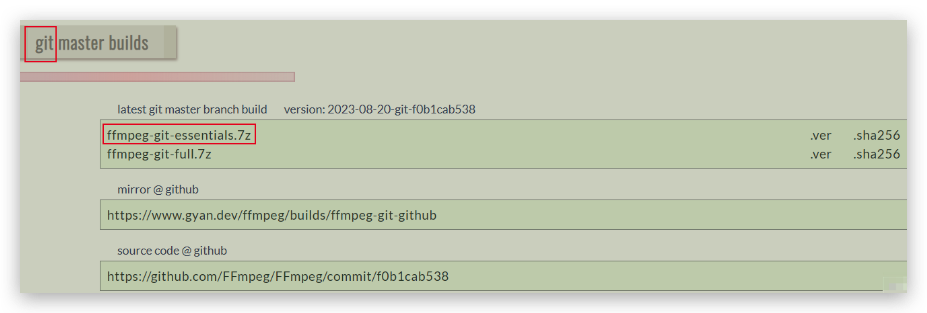
2. Download the full version of FFmpeg for Windows
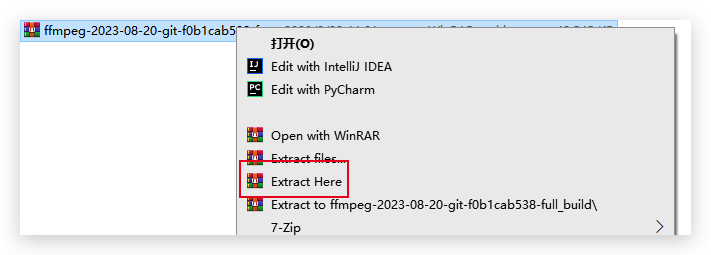
3. Unzip and rename the extracted folder to FFmpeg
P.S. Unzipping requires installing 7zip, a handy lightweight compression tool.
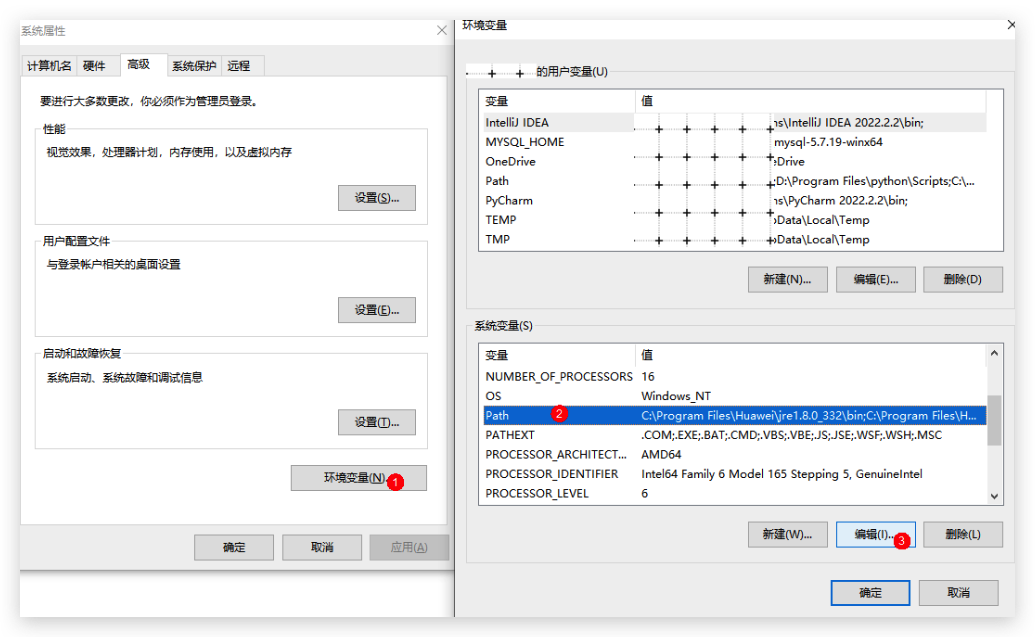
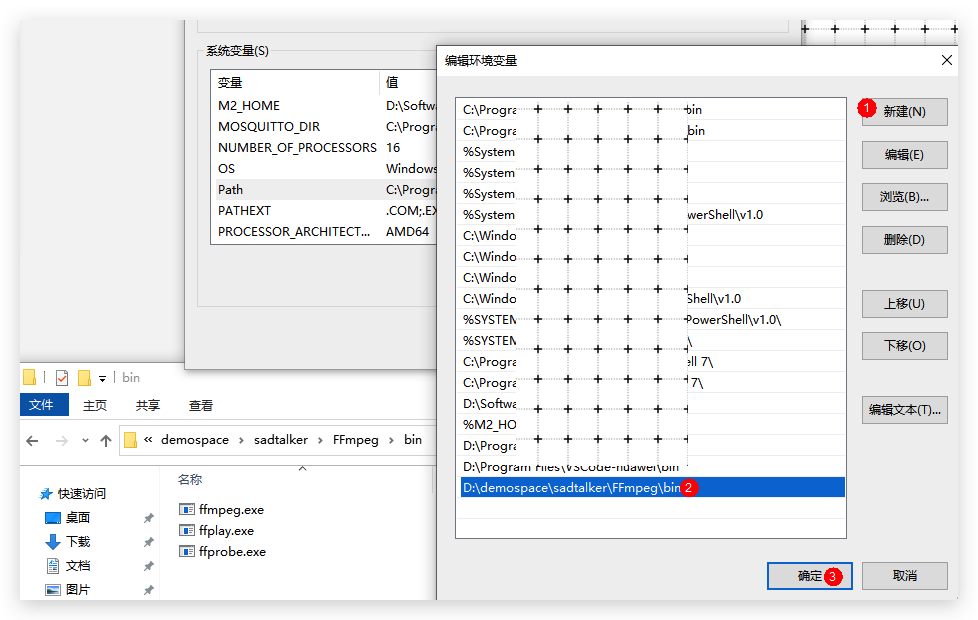
4. Configure PATH environment variable, remember to confirm after adding
5. Check if the installation was successful
Open 【Command Prompt】, enter ffmpeg, as shown in the image

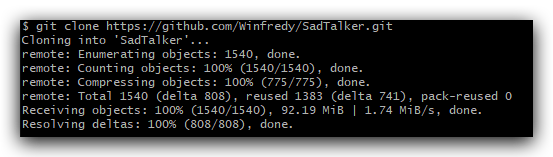
Two, Download SadTalker Code
git clone https://github.com/Winfredy/SadTalker.git
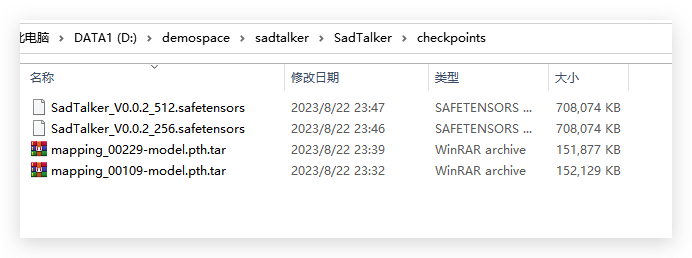
Three, Download SadTalker Model Files
Refer to the 《Official Documentation》 for three methods, among which Baidu Cloud is accessible without a VPN. The model files involve the following two directories:
- checkpoints, 提取码: sadt
- gfpgan, 提取码: sadt
Place the downloaded model files under checkpoints and weights directories.

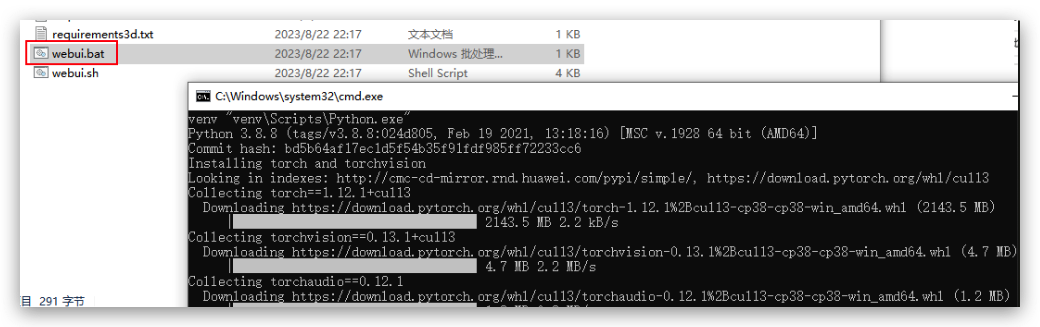
Four, Launch webUI
The first run requires downloading dependencies, which can be slow.
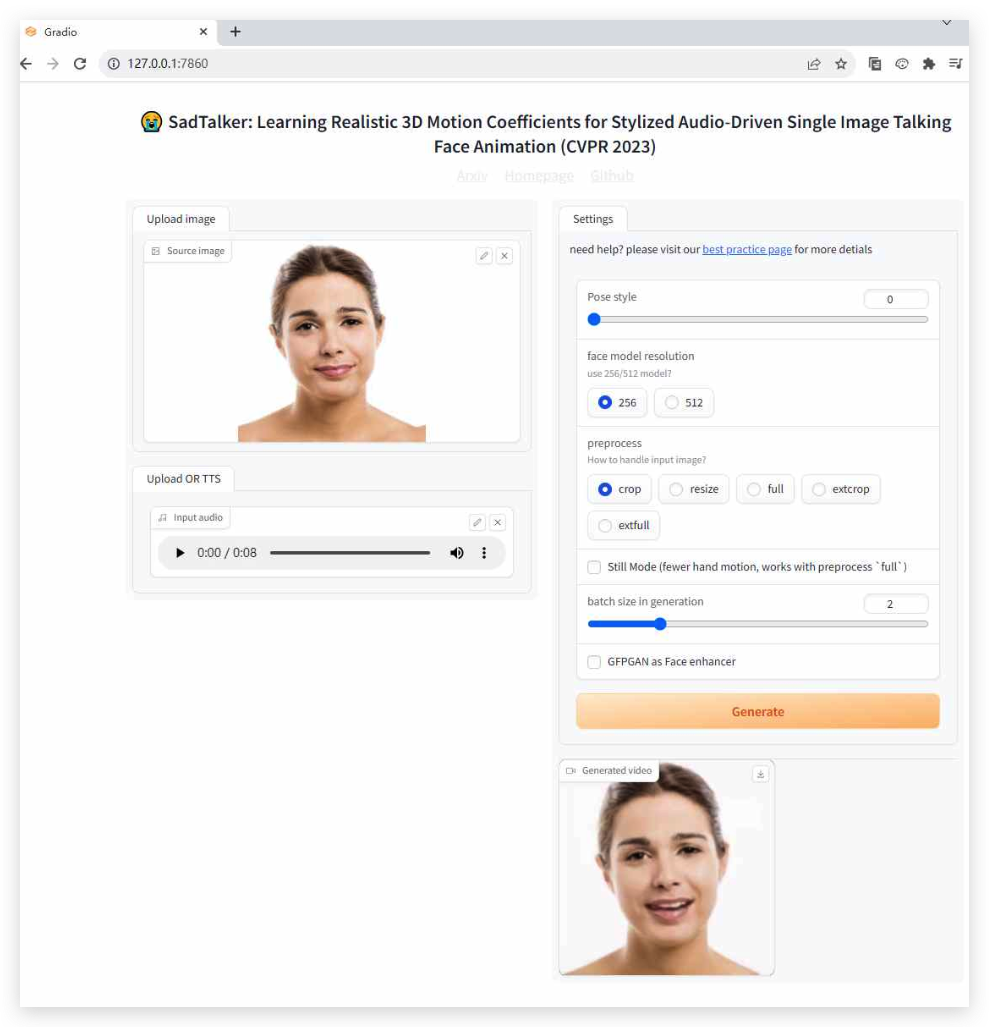
Five, Run demo in Browser
Default address is 127.0.0.1:7860, drag in an image and voice, click Generate to synthesize (Note: There are samples in SadTalker/example to try)
Common Issues
- Click Generate and the top-right corner shows 【Expecting value: line 1 column 1 (char 0) 】
Close the proxy server, please refer to [Bug]: Something went wrong Expecting value: line 1 column 1 (char 0) #9174
- Script fails to pull model files
Solution: Manually download the model files, place them under weights directory. For model file downloads, refer to here。

Installation Method Two: Colab
Visit SadTalker's Colab, copy to your own cloud drive.

Click on different cells, run sequentially

- Select an image, run, and complete the synthesis

- Run

- Preview the results

Common Issues
- pip install prompts python3.8: command not found

Solution: Manually install python3.8
!wget -O mini.sh https://repo.anaconda.com/miniconda/Miniconda3-py38_4.8.2-Linux-x86_64.sh
!chmod +x mini.sh
!bash ./mini.sh -b -f -p /usr/local
